
Installation
Windows
Section titled “Windows”-
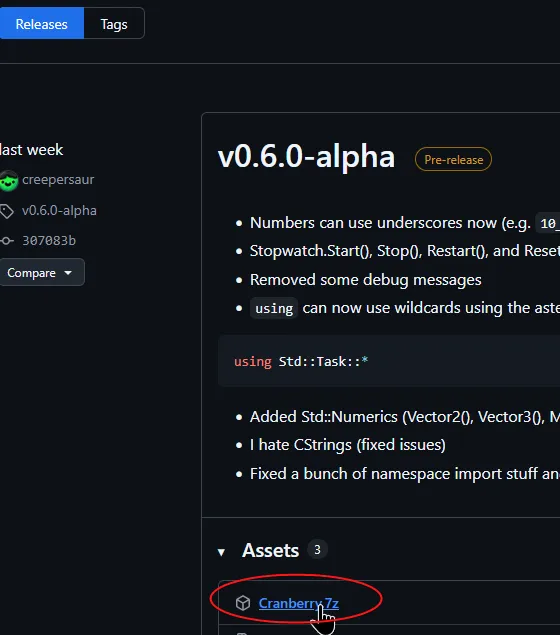
To install Cranberry, go to the GitHub Releases page and and get the latest release.
-
Download the
Cranberry.7zfile, extract it and put it somewhere safe. (Like inDocuments/Cranberry.)
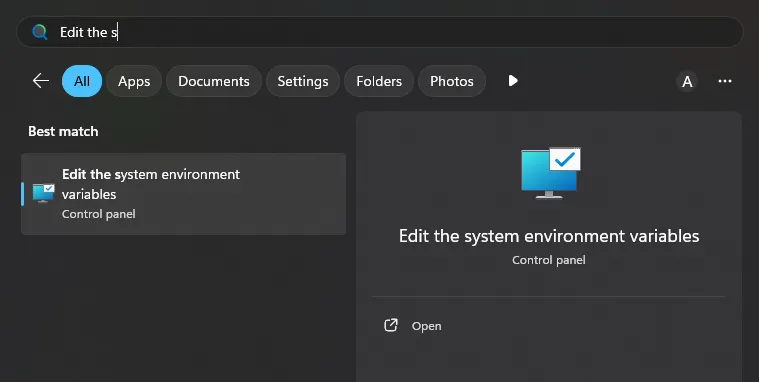
- Open the start menu and search for “Edit the system environment variables”.
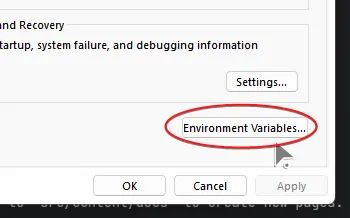
- Go to Advanced > Environment Variables
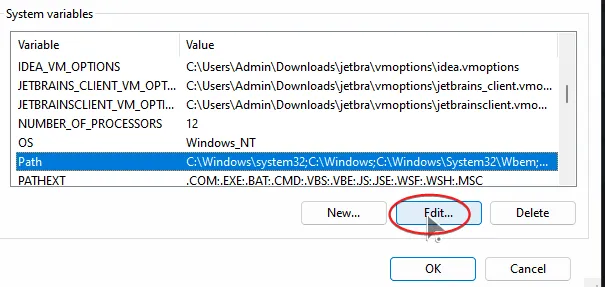
- Select
Pathand hitEdit. Then add the path to the Cranberry installation folder.
- When you’re done click Apply and OK.
Precompiled Linux binaries are available since version 0.8.0-alpha, with the
file named cranberry-[version]-linux-x64.tar.zst (Zstandard-compressed Tar)
You can simply download the precompiled binary from
GitHub Releases
and extract it using your preferred program or use the command
tar xf cranberry-[version]-linux-x64.tar.zst.
After extracting, a folder named cranberry-[version] will appear. Feel free
to move that folder around and place it wherever you like.
Next, Follow one of these instructions to add cranberry to the PATH of your shell. For Linux beginners, If you haven’t changed your default shell, You are very likely using Bash.
Replace the /path/to/cranberry with the actual path in the following line and add it to your ~/.bash_profile
export PATH="/path/to/cranberry:$PATH"For example, If you placed Cranberry at /home/user/cranberry, You would add the following:
export PATH="$HOME/cranberry:$PATH"Replace the /path/to/cranberry with the actual path in the following line and add it to your ~/.zshrc
export PATH="/path/to/cranberry:$PATH"For example, If you placed Cranberry at /home/user/cranberry, You would add the following:
export PATH="$HOME/cranberry:$PATH"Replace the /path/to/cranberry with the actual path in the following command and run it
fish_add_path -g -p /path/to/cranberryFor example, If you placed Cranberry at /home/user/cranberry, You would run the following:
fish_add_path -g -p ~/cranberryReplace the /path/to/cranberry with the actual path in the following line and add it to your ~/.profile
export PATH="/path/to/cranberry:$PATH"For example, If you placed Cranberry at /home/user/cranberry, You would add the following:
export PATH="$HOME/cranberry:$PATH"Next, Restart your terminal to apply the new configuration. (there are faster ways to reload configuration but this should work universally)
Then, You can move on to the next step and install Cranberry’s dependencies.